When disaster strikes and your roof is damaged, quick action is essential to protect your home and family. Understanding the basics of emergency roof repair can help you assess damage, take immediate protective steps, and begin the process of securing professional assistance. This guide explains how to identify when emergency repairs are needed, what actions to take right away, and how to navigate insurance and repair decisions effectively.
How to Identify If You Need Emergency Roof Repair
Not all roof damage is immediately visible, but common warning signs include missing or broken shingles, sagging areas, and visible water damage inside the home. Less obvious indicators may include granules collecting in gutters or water stains forming on ceilings and walls.
Severe weather—such as windstorms, heavy rain, or snow—often exposes weak points that were previously unnoticed.
Regular roof inspections, ideally twice a year and after major storms, can help catch issues early. Pay close attention to vulnerable areas around chimneys, vents, and skylights, where leaks frequently develop. If climbing onto the roof is unsafe, binoculars can help with a ground-level inspection. When in doubt, contacting a professional is the safest choice.
While preventive maintenance reduces risk, sudden damage can still occur. Addressing small issues promptly often prevents them from becoming major emergencies later.
When to Call a Professional
Knowing when to seek professional help is critical. Extensive damage—such as large sections of missing shingles, holes, or structural concerns—requires immediate expert attention. Roofing professionals have the training and equipment to perform repairs safely and thoroughly, reducing the risk of injury and incomplete fixes.
Even seemingly minor damage can conceal deeper problems. A professional inspection can uncover hidden issues and prevent future complications. Contractors also provide proper documentation, which is valuable for insurance claims.
If you are uncertain about the severity of the damage or how to proceed, err on the side of caution and contact a qualified roofing contractor. Their expertise can save time, money, and stress in the long run.
Tools and Equipment for Temporary Repairs
While waiting for professional assistance, temporary repairs may help limit further damage. Basic supplies include heavy-duty tarps or plastic sheeting, roofing nails, a hammer, and roofing sealant or cement. A ladder may be necessary, but safety should always be the top priority.
Protective gear such as gloves and safety goggles helps prevent injuries, and a flashlight is useful during power outages. For minor damage, spare shingles and roofing nails may allow for short-term patching. These solutions are temporary measures only and should not replace professional repairs.
Assess your situation carefully before attempting any fixes, and never put yourself in danger to perform them.
Immediate Steps After Roof Damage
Once damage is discovered, ensure everyone’s safety. Avoid walking on a compromised roof, as it may collapse or worsen existing damage. Inside the home, watch for sagging ceilings or water intrusion. If water is leaking, unplug electronics in affected areas and keep children and pets away. Secure loose debris if possible and conduct a basic inspection from a safe vantage point so you can accurately report conditions to professionals.
After addressing safety, focus on preventing additional water intrusion. Cover exposed areas with tarps, securing them tightly with nails or wooden planks to withstand wind. Small cracks or leaks may be temporarily sealed with roofing cement.
Document any temporary repairs and materials used, as this information may be needed for insurance claims or contractor evaluations.
Documenting the Damage
Proper documentation is essential. Take clear photos of the damage from multiple angles and record detailed notes describing the location, extent, and cause of the damage. Include weather events if applicable.
Keep receipts for any materials used in temporary repairs. Comprehensive documentation supports insurance claims and helps contractors accurately assess repair needs.
Understanding Insurance and Repair Costs
Review your homeowner’s insurance policy to understand coverage, exclusions, and deductibles. Contact your insurance provider promptly to begin the claims process and submit documentation.
Clear records and transparency make the process smoother. If disputes arise, consulting an independent adjuster may help ensure fair evaluation.
Repair costs depend on damage severity, materials, labor, and location. Obtain multiple detailed estimates from reputable contractors and compare them with your insurance assessment. Be prepared for hidden damage that may increase costs once work begins. Budgeting for contingencies and considering long-term durability when selecting materials can lead to better outcomes and fewer future repairs.
Choosing the Right Contractor
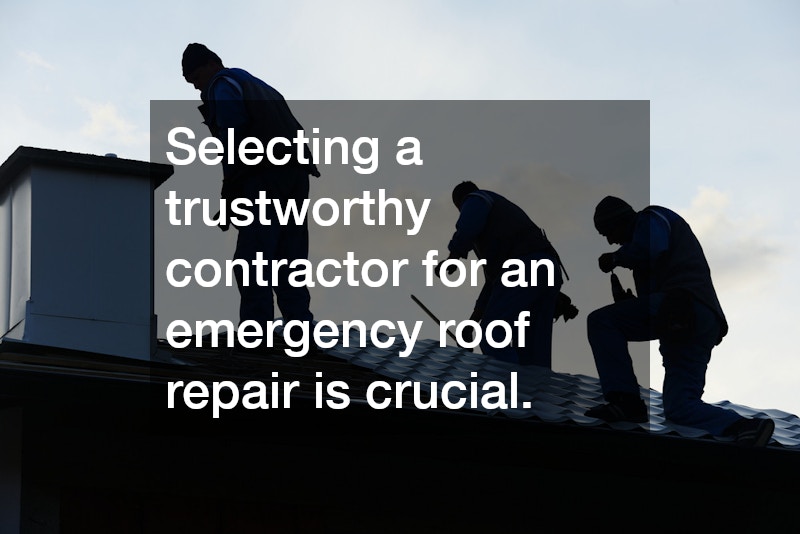
Selecting a trustworthy contractor for an emergency roof repair is crucial. Check licenses, insurance, and reviews, and ask for recommendations when possible. Request written estimates outlining costs, timelines, and materials.
Even in emergencies, avoid rushing decisions. Choose a contractor who communicates clearly, answers questions, and demonstrates professionalism. Quality workmanship ensures your roof’s safety and longevity.
Roof emergencies are stressful, but preparation and knowledge make them manageable. By recognizing warning signs, prioritizing safety, and acting quickly, homeowners can reduce damage and protect their investment. Understanding insurance coverage and choosing the right contractor are equally important steps in ensuring effective repairs.
With a proactive approach and informed decisions, emergency roof repair becomes a process you can handle with confidence—restoring both your roof and peace of mind.